
Have you ever felt a little spark of creativity and wished you could just put it on paper? Perhaps you’ve seen a cute chicken and thought, "I could draw that!" Well, you know, learning to draw can seem a bit much at times, but what if we told you that drawing a chicken, a very charming chicken, can be incredibly simple? It's true, really, and it's something almost anyone can do.
For anyone who feels like their artistic journey is just starting, or maybe you are just looking for some playful drawing ideas, this is definitely for you. It does not matter if you are a beginner artist or if you just want to doodle something fun and quick. We believe art should be easy to get into, and drawing a happy chicken is a pretty good place to begin, so it is.
In this guide, you will learn how to draw a chicken using simple shapes and lines. Our how to draw a chicken guide makes drawing a cute cartoon chicken simple and easy for kids, too. You will follow along to gain confidence in drawing chickens, and you might even surprise yourself with what you can create. We'll show you how to draw anything you can imagine, from simple shapes to a finished picture, just like that.
Table of Contents
- Why Simple Chicken Drawing Is Fun
- The Foundations of a Simple Chicken
- Step-by-Step Guide: Your First Simple Chicken
- Exploring More Simple Chicken Drawing Ideas
- Resources to Help You Draw
- Frequently Asked Questions About Simple Chicken Drawing
Why Simple Chicken Drawing Is Fun
Drawing chickens can be a really enjoyable way to spend some time. It's not about making a perfect, photo-realistic image, you know. It's more about capturing the spirit of the animal with just a few lines. This kind of drawing is, in a way, very freeing. You don't need fancy art supplies or special training. Just a pencil, some paper, and a little willingness to try is really all you need, it's true.
People often feel a bit intimidated by drawing, thinking it requires some kind of natural gift. But that's not quite right. Drawing, especially simple drawing, is a skill anyone can pick up, given a little practice. It's like learning to ride a bike, in some respects. You start with the basics, and before you know it, you're rolling along pretty well. Simple chicken drawing is a perfect example of this idea, too.
The satisfaction of creating something recognizable and cute, with just a few easy strokes, is a wonderful feeling. It can really boost your confidence, and that's a big part of why we love sharing these kinds of tutorials. It's about showing you that you can do it, basically. You can make art, and it can be a lot of fun while you are doing it.
Perfect for Beginners
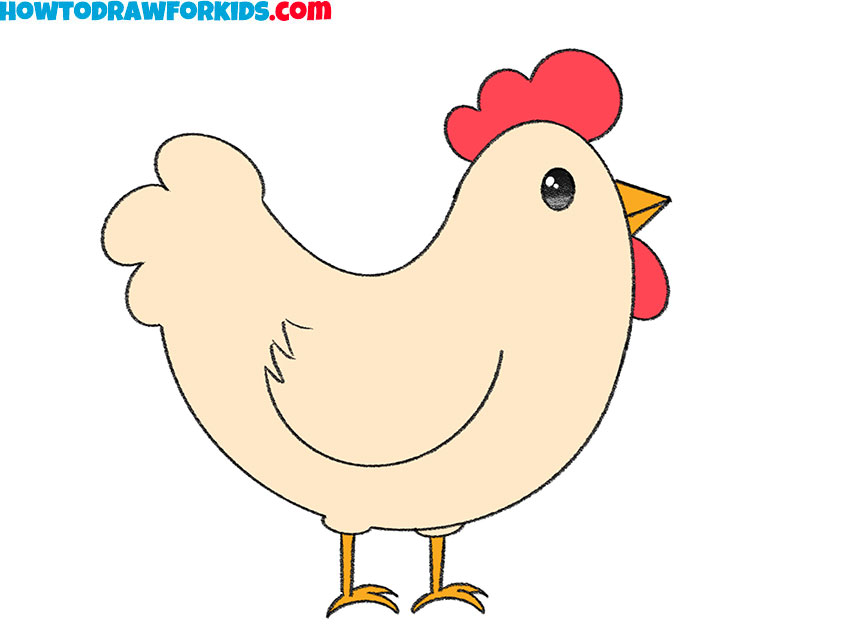
If you are just starting out with drawing, a simple chicken is an ideal subject. The shapes are not too complex, and you can easily adjust them if something does not look quite right. This chicken drawing uses simple lines with U-shaped lines to indicate different parts, which makes it very forgiving. You can experiment without feeling like you have to be precise right away. It's a great way to get comfortable with your pencil and paper, honestly.
Many people find that drawing animals can be a little challenging. They have so many different textures and details, you know. But with our simple approach, we break it down into very manageable pieces. You will not feel overwhelmed, which is pretty important for a beginner. The goal is to have a good time and see what you can create, really.
This kind of simple drawing helps you build a strong foundation for future art projects. You learn about basic shapes, how lines connect, and how to give a drawing some character. These are things that, you know, are useful for drawing anything, not just chickens. It's a stepping stone to bigger and more complex drawings, should you want to try them later on.
A Great Activity for Kids
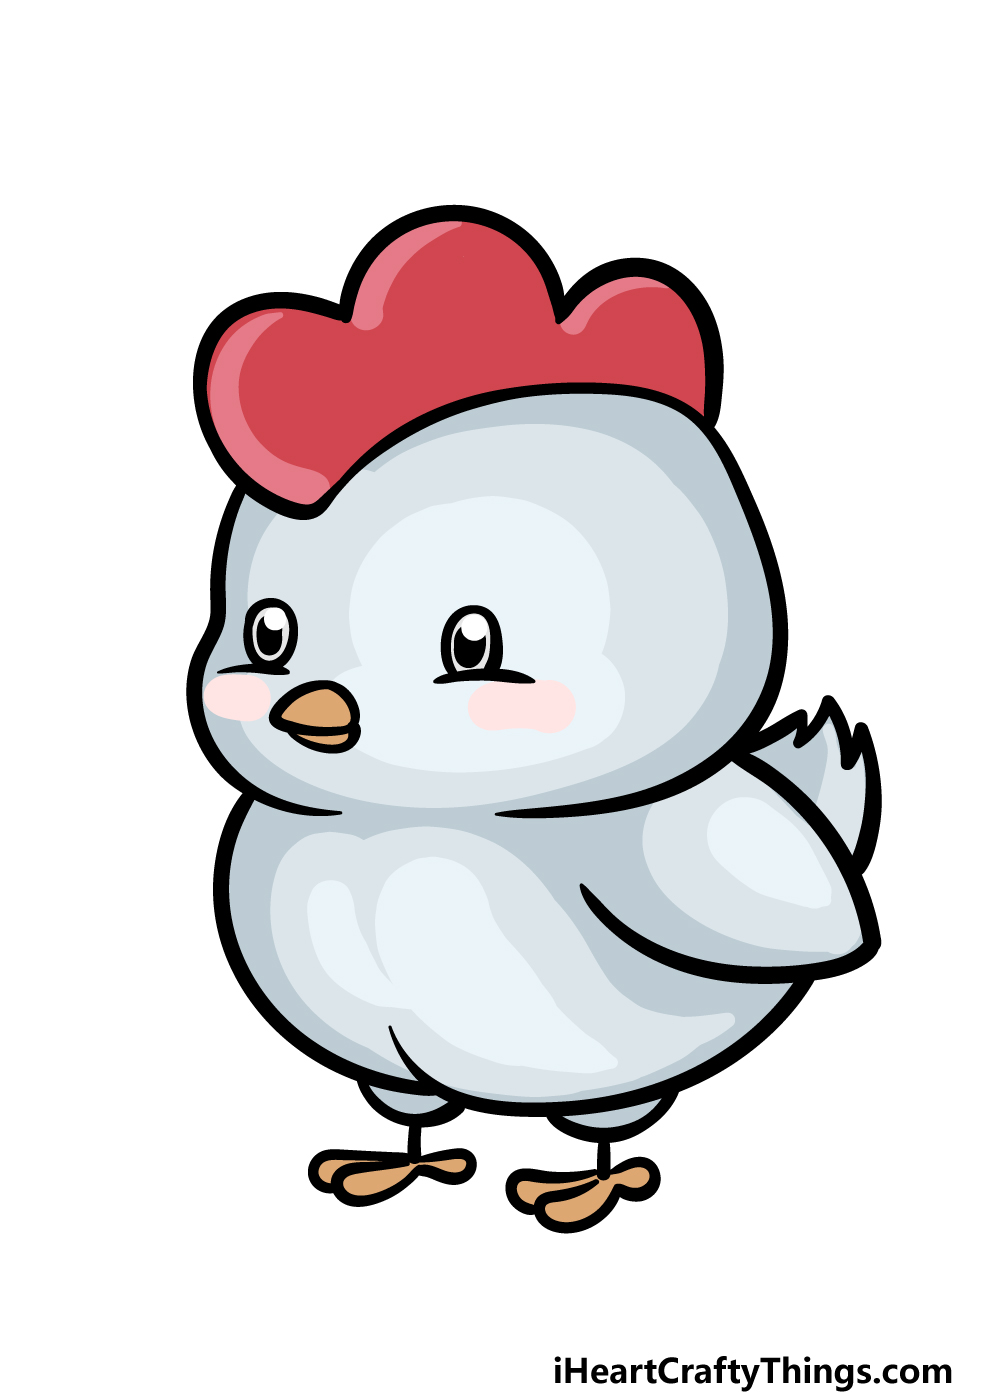
Kids just love drawing, and a cute cartoon chicken is often a big hit with them. This how to draw a chicken guide makes drawing a cute cartoon chicken simple and easy for kids. It is a fantastic way to keep little hands busy and minds engaged. They can learn about shapes and colors, and express their own creativity, too.
Drawing together can be a lovely bonding experience for families. Parents and children can sit down, follow the steps, and make their own chicken drawings. Each chicken will look a little different, and that's part of the fun. It teaches kids that art is about expression, not just perfection, which is a good lesson, you know.
The simple nature of this tutorial means that even very young children can participate. They might need a little help with some steps, but they can still feel a sense of accomplishment. It is, in a way, very rewarding for them to see their own chicken appear on the page. Plus, chickens are pretty funny animals, which adds to the appeal for kids, you know.
The Foundations of a Simple Chicken
Every drawing, even the most detailed ones, starts with some very basic shapes. The foundations of all of our drawing tutorials are built on this idea. For a chicken, you are mostly looking at ovals and circles. These simple forms help you get the proportions right before you add any of the smaller details. It is like building a house, you know, you start with the main structure.
Thinking about things in terms of shapes makes drawing much less daunting. Instead of seeing a whole chicken, you just see a big oval for the body, a smaller circle for the head, and so on. This approach breaks the drawing process into very manageable chunks. It really helps you focus on one small part at a time, which is pretty helpful, actually.
Once you have those basic shapes in place, you can then start to refine them. You will connect them with lines, and then you will begin to add the specific features that make it look like a chicken. It's a bit like sculpting, in a way. You start with a big lump of clay and slowly shape it into something recognizable. That's how simple drawing works, too.
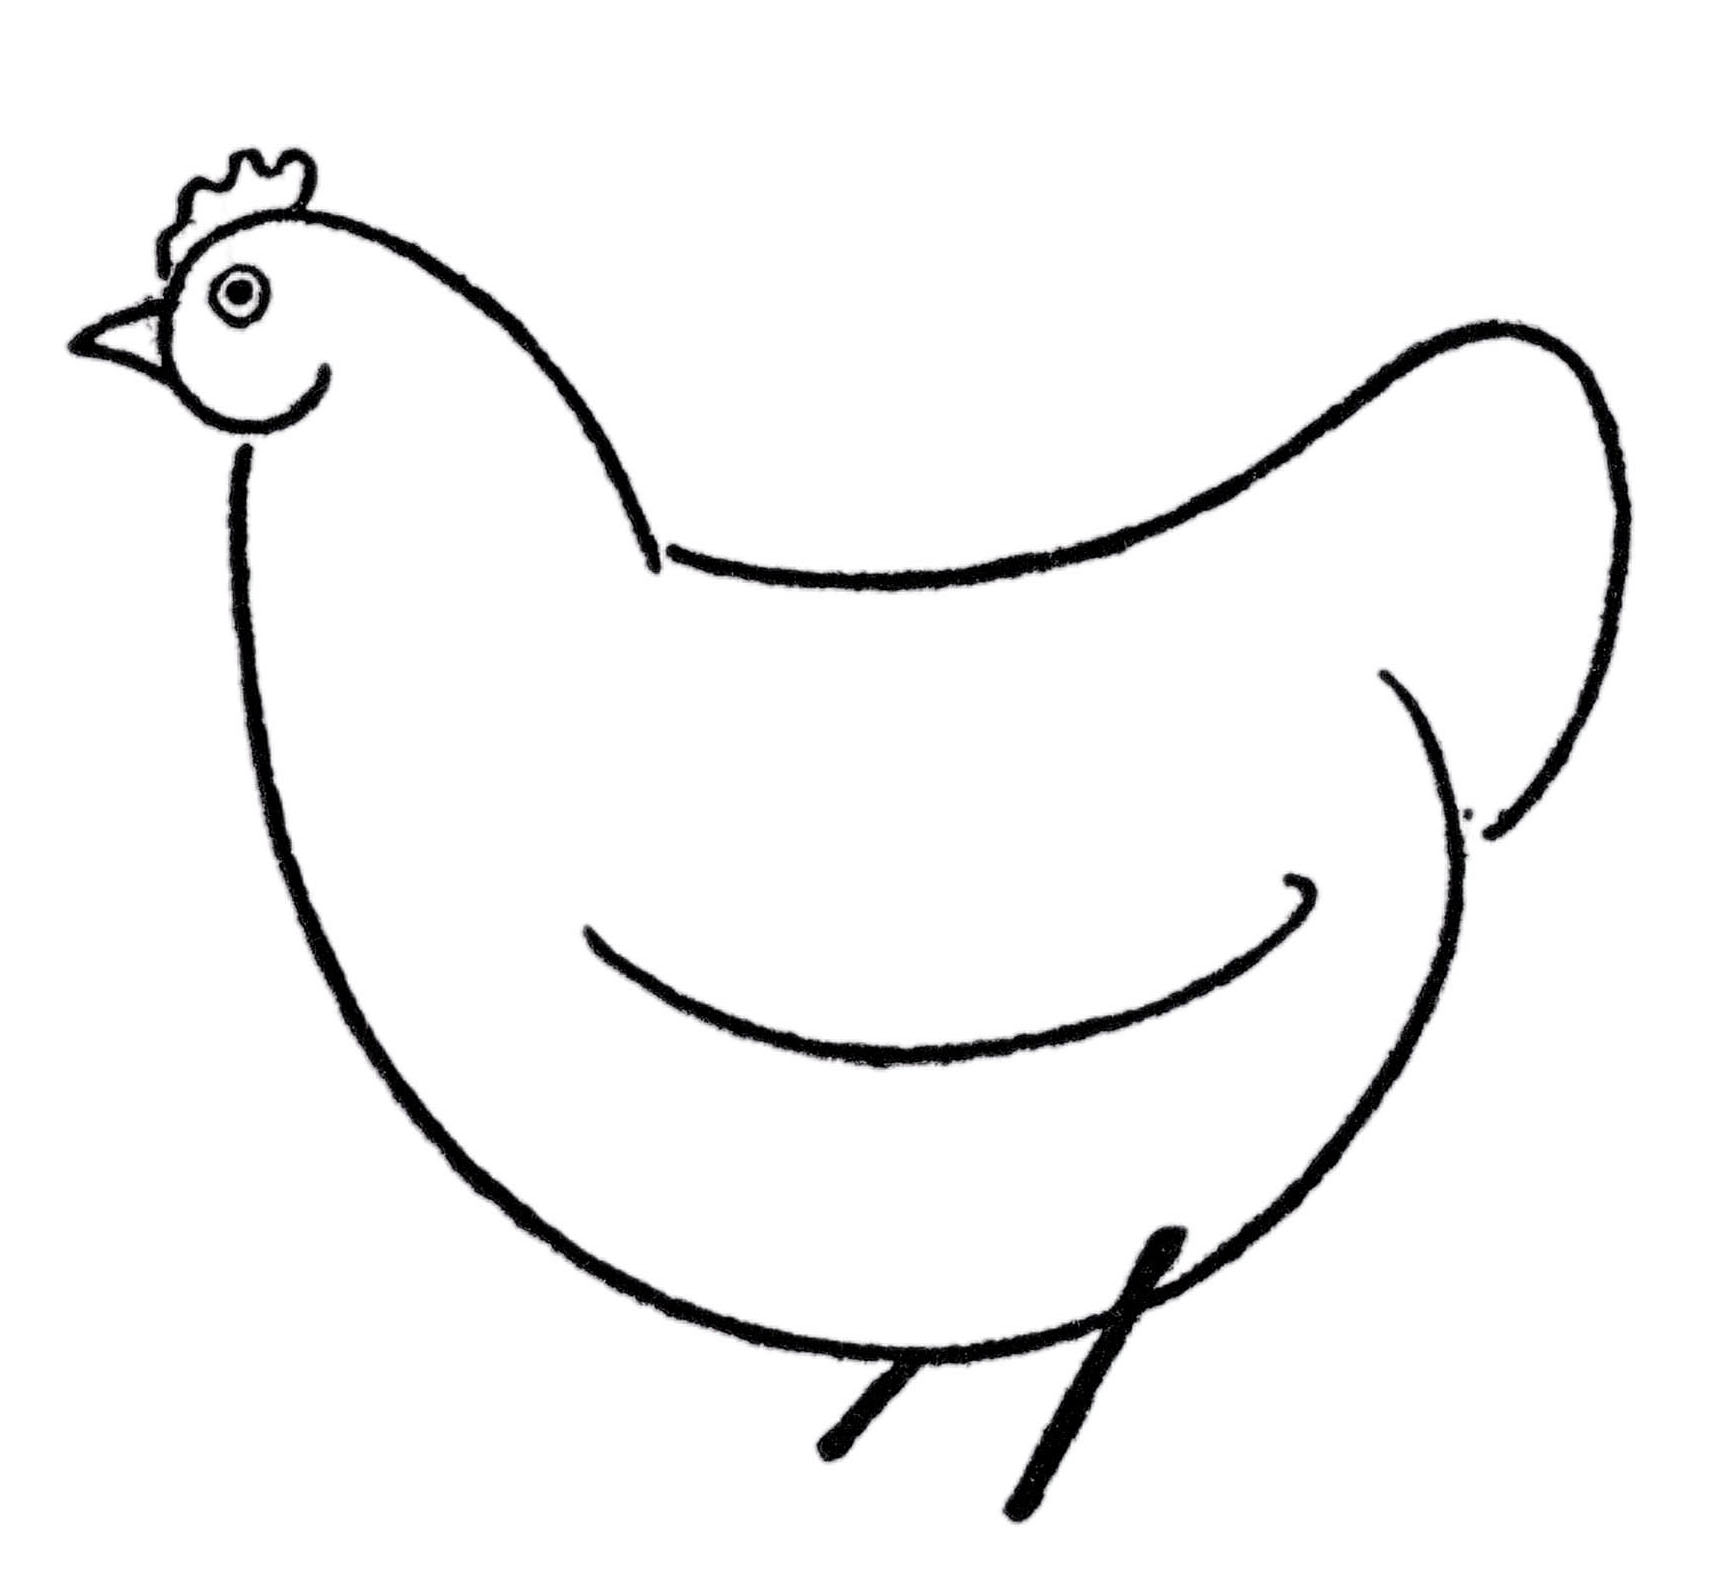
Starting with Basic Shapes
To begin your simple chicken drawing, you will want to sketch out a large oval for the body. This oval does not have to be perfect, just a general shape. Think of it as the main part of the chicken, where its feathers and wings will eventually go. It is, you know, the anchor for the whole drawing.
Next, you will add a smaller circle for the head, placed towards one end of the oval, slightly above it. You might want to make it a bit off-center, as if the chicken is looking in one direction. This circle connects to the oval with a gentle curve, which will become the neck. This really helps to give the chicken some character, you know.
These initial shapes are very light sketches. You can always erase them later if you need to. The idea is to just get the general placement and size down first. It's like making a rough draft before you write the final story. This really helps you plan your drawing, and it makes the whole process a bit less stressful, too.
Adding Those U-Shaped Lines
This chicken drawing uses simple lines with U-shaped lines to indicate the different parts. These U-shaped lines are incredibly useful for adding details without making things too complicated. For instance, a U-shape can become a wing, or it can form the base of the tail feathers. It's a very versatile shape, honestly.
Think about the comb on top of the chicken's head. You can draw a few small U-shapes connected together to form that wavy crest. For the wattle under its chin, another U-shape works perfectly. These simple forms help give your chicken its distinct look without needing very intricate lines, which is pretty neat.
When you are drawing the feathers, especially on the tail, those U-shapes can be layered. You draw one U-shape, then another slightly overlapping it, and so on. This gives the impression of layered feathers without you having to draw each individual one. It's a clever trick that makes the drawing process a lot easier, and it still looks good, too.
Step-by-Step Guide: Your First Simple Chicken
In just 6 simple steps, you can draw a chicken easy, and some baby chicks too! This guide breaks down the process into very small, manageable parts. You will follow along to gain confidence in drawing chickens, and each step builds on the last. It's like putting together a puzzle, you know, one piece at a time.
Remember to keep your lines light at first. You can always go over them later with a darker pencil or a pen once you are happy with the shape. Do not worry about making it perfect on your first try. The goal is to have fun and learn something new, really. So, grab your pencil and paper, and let's get started, too.
This tutorial is designed to be very clear, with each step focusing on adding just a little more to your drawing. We are taking the simple shapes and slowly turning them into a recognizable, cute chicken. It is a very rewarding process, you know, seeing your drawing come to life right before your eyes.
Step 1: The Body Shape
Start by drawing a large oval in the middle of your paper. This oval will be the main part of your chicken's body. It does not have to be perfectly symmetrical, a slightly irregular oval can even make your chicken look more natural, you know. Just make sure it is a good size for your paper, so you have room for the other parts.
This oval is the foundation. It sets the stage for everything else you will add. Think of it as the chicken's torso. You are basically mapping out where the main bulk of the chicken will be, which is pretty important. Keep your pencil light for this step, as you might want to adjust it a little later, too.
You can make your oval a bit more rounded or a little longer, depending on the kind of chicken you want to draw. A plumper oval might suggest a fluffy, happy chicken, while a slightly leaner one could be a more active bird. It's really up to you and what you imagine, you know.
Step 2: Head and Neck
Now, draw a smaller circle for the head, placed on one end of the body oval. This circle should be about one-quarter to one-fifth the size of the body oval, roughly speaking. Connect the head circle to the body oval with two gentle, curved lines to form the neck. These lines should flow smoothly from the head into the body, you know.
The neck lines should be slightly wider at the bottom where they meet the body and narrower towards the head. This gives the chicken a natural look. You can make the neck shorter or longer depending on your preference. A shorter neck might make the chicken look a bit more stout, you know.
This step really starts to define the chicken's posture. Is it looking up? Is its head tilted? You can adjust the placement of the head circle and the curve of the neck lines to show that. It's where your chicken starts to get a little personality, too, which is pretty cool.
Step 3: Beak and Comb
For the beak, draw a small triangle shape on the front of the head circle. This triangle can point slightly downwards. Underneath the beak, add a small, rounded shape for the wattle. It's like a little droopy bit, you know.
On top of the head, draw the comb. This is the red, fleshy part chickens have. You can make it look like a few connected U-shapes or small, wavy bumps. This really gives your chicken its characteristic look. It's a very recognizable feature, too.
These small details really bring the chicken to life. The beak and comb are what make it clearly a chicken. You can make the comb bigger or smaller, more spiky or more rounded, depending on the kind of chicken you are imagining. It's a chance to add your own touch, really.
Step 4: Legs and Feet
Draw two simple lines extending downwards from the bottom of the body oval for the legs. These lines should be relatively short. At the end of each leg, draw three short lines pointing forward for the toes, and one pointing backward for the back toe. It's like a little bird footprint, you know.
The legs do not need to be perfectly straight. A slight bend can make the chicken look like it is standing naturally. You can even add a few small horizontal lines on the legs to suggest texture or scales. This really adds a bit more detail without being too complex, too.
Remember, chickens have pretty skinny legs compared to their bodies. Do not make them too thick. The feet are also quite simple, just those few lines. It's all about keeping it easy and recognizable, really, for this simple chicken drawing.
Step 5: Wings and Tail Feathers
For the wing, draw a large U-shaped line on the side of the body oval. This U-shape should start near the top of the body and curve down towards the middle. You can add a few smaller, curved lines inside the wing to suggest feathers. This chicken drawing uses simple lines with U-shaped lines to make the wing shape clear.
For the tail, draw a few longer, curved lines extending from the back of the body oval. These lines can fan out slightly, like a small plume. You can layer these lines to give the impression of fluffy tail feathers. This really helps to balance the chicken's shape, you know.
The wings and tail are where you can add a lot of character. A slightly droopy wing might make your chicken look sleepy, while a fanned-out tail can make it look a bit proud. It's a chance to play with the shapes and see what kind of chicken you create, too.
Step 6: Finishing Touches
Finally, add an eye to your chicken's head. A simple dot or a small circle with a dot inside works well. You can also add a small, curved line below the eye to give it a friendly expression. This really brings the chicken to life, you know.
You can also add some texture to the body by drawing a few very light, squiggly lines to suggest feathers. Do not overdo it; just a few lines here and there are enough. You can also add a small patch of grass under your chicken's feet to ground it in the drawing. This really helps, too.
Once you are happy with your pencil sketch, you can go over your lines with a darker pencil or a fine-tip pen. Then, you can erase any of your initial light sketch lines. You could even color your chicken in if you like! Draw a cute chicken and see interesting and easy drawing ideas with this tutorial, really.
Exploring More Simple Chicken Drawing Ideas
Once you have drawn your first simple chicken, you might want to try some variations. The beauty of simple drawing is that it gives you a base to build upon. You can change a few details and create a completely different look. It's like having a recipe and then adding your own spices, you know.
You can try drawing your chicken from different angles, perhaps looking over its shoulder, or pecking at the ground. You could even draw a whole family of chickens! The possibilities are pretty wide open once you get the hang of the basic shape. It's really about letting your imagination take over, too.
Remember, whether you’re a beginner or just looking for some playful drawing, there is always more to explore. These simple techniques can be applied to many other animals and objects, too. It's a fun way to keep your drawing skills growing and to enjoy the process of creating something new, you know.
Drawing Cute Baby Chicks
In just 6 simple steps, you can draw a chicken easy and some baby chicks too! Baby chicks are even simpler to draw than adult chickens. They are mostly just fluffy balls with tiny beaks and legs. You can start with a slightly smaller oval for the body, and a smaller circle for the head, too.
For a chick, you would make the body very round and fluffy. The legs and feet would be much smaller, almost like tiny sticks. Their beaks are usually very small and pointed. They often have a small tuft of feathers on top of their heads, which you can show with a few short, wispy lines. It's pretty cute, actually.
You can draw a group of chicks following their mother hen. This creates a very sweet scene. Just like with the adult chicken, you can add simple
Detail Author:
- Name : Mr. Rocky Nienow DDS
- Username : tristin08
- Email : ted.schumm@gmail.com
- Birthdate : 1975-04-20
- Address : 43019 Anderson Fords Port Annabelleton, MS 09856-3877
- Phone : 336-681-5120
- Company : Beier-Crooks
- Job : Jeweler
- Bio : Minima ut hic quo autem est voluptatem. Fugit voluptatem laborum quia veritatis ut ducimus ut. Quia delectus non earum atque molestias. Sapiente ut quos impedit commodi libero et doloribus.
Socials
tiktok:
- url : https://tiktok.com/@pfeffer2000
- username : pfeffer2000
- bio : Harum sint dolores tenetur ipsa aut. Harum saepe autem enim cum tempore quia.
- followers : 693
- following : 34
twitter:
- url : https://twitter.com/adelia.pfeffer
- username : adelia.pfeffer
- bio : Ut molestias porro id dolorem sint. Cupiditate atque quia harum vel molestiae. Deleniti omnis enim omnis aut officia.
- followers : 851
- following : 2638
instagram:
- url : https://instagram.com/pfeffera
- username : pfeffera
- bio : Distinctio omnis veniam accusantium. Maxime ea aut sed et voluptate quia.
- followers : 3816
- following : 2195
